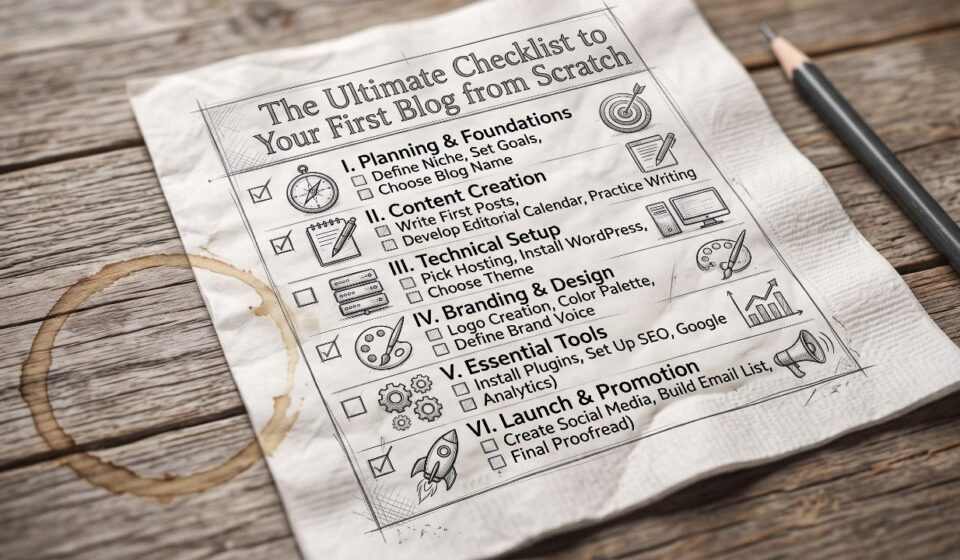

Starting a blog sounds wonderfully romantic until you find yourself staring at a blank screen at 2 AM, agonizing over whether your background should be eggshell white or antique alabaster. Most people assume the hard part is the writing, but the real challenge is navigating the technical rabbit hole before your first post ever goes live.
Launching a blog does not require a computer science degree or a corporate sponsor. It just takes a systematic game plan so you avoid wasting three weeks designing a logo nobody asked for.
Phase 1: Finding Your Angle (Without Overthinking It)
The internet does not need another generic lifestyle blog where someone reviews avocado toast while dispensing life advice. To make an impact, your corner of the web needs a clear focal point.
The “Intersection” Trick
Pick two topics that normally do not hang out together. Baking and budget spreadsheets? Perfect. Heavy metal and houseplant care? Even better. When you niche down, you stop competing with billion-dollar media outlets and start talking directly to people who share your exact flavor of weird.
Defining the Reader
Before typing a sentence, picture who is reading it.
-
What problem are you solving for them?
-
Are you teaching them a skill, saving them money, or just making their lunch break less depressing?
-
If your target audience is “everyone with an internet connection,” rethink it. When you speak to everyone, you speak to no one.
Phase 2: Tech Setup Without the Tears
Setting up hosting feels intimidating, but it is basically just renting an apartment on the web where your words live.
| Decision | Best Budget Choice | Why It Works | What to Avoid |
| Blogging Engine | Self-hosted WordPress (.org) | You own 100% of your content and data. | Free platforms that place random ads on your site. |
| Domain Name | Namecheap or Porkbun | Clear pricing, no sneaky renewal jumps. | Paying $50/year to a bundled upsell registrar. |
| Web Hosting | Hostinger or SiteGround | Reliable uptime, one-click WordPress install. | The absolute cheapest shared host with zero support. |
The Domain Rule
Keep your domain short, pronounceable, and easy to type without autocorrect sabotaging it. If you have to say, “It’s Sarah with two h’s and a hyphen,” pick another name. Stick with a standard .com whenever possible; people still automatically type it out of habit.
Phase 3: Essential Plumbing and Architecture
Once WordPress is installed, resist the urge to immediately write your manifesto. Get the house in order first so your visitors don’t bounce after four seconds.
Clean Up the Defaults
-
Fix Permalinks: Go to
Settings > Permalinksand select Post name. Change ugly defaults like[yourblog.com/?p=123](https://yourblog.com/?p=123)into clean, human-readable URLs like[yourblog.com/launch-checklist](https://yourblog.com/launch-checklist). -
Delete the Ghost Towns: Erase the default “Hello World” sample post and sample comment. Leaving them up is the digital equivalent of moving into a new house and leaving the packaging tape on the front door.
-
Set Up Core Legal Pages: You need an About Me page, a Contact form, and a basic Privacy Policy. If you plan to use affiliate links or display ads down the road, put a straightforward disclosure page in your footer right away.
Essential Free Plugins Only
Do not install forty plugins on day one; your site will load with the speed of an elderly snail. Stick to four basics:
-
Security: Wordfence or Solid Security to keep bots at bay.
-
SEO: Rank Math or Yoast to format how your posts display on Google.
-
Caching/Speed: LiteSpeed Cache or WP Super Cache so your pages load fast.
-
Spam Filter: Akismet to save your comment section from fake bots trying to sell crypto.
Phase 4: Design for Humans, Not Design Competitions
New bloggers often waste an entire month tweaking fonts. Pick a lightweight, responsive theme like Astra, GeneratePress, or Kadence, set your brand colors to two simple shades, and stop tinkering.
Keep your line spacing generous and your font size at a legible 16px to 18px. If reading your blog on a phone feels like taking an eye exam, people will leave before finishing your first paragraph.
Phase 5: Content Creation and Launch Day
Never launch a blog with zero posts. Arriving at an empty blog is like walking into a restaurant with no food on the menu.
The “Batch of Five” Rule
Write and polish five solid articles before hitting the launch button.
-
The Pillar Post: A detailed, definitive guide answering the most common question in your niche.
-
Two How-To Guides: Practical, actionable steps that solve specific pain points.
-
One Opinion/Story Post: Something personal that shows your voice, perspective, or unique background.
-
One Resource/Curated List: A helpful roundup of tools, books, or habits you actually recommend.
When visitors finish your first post and like your style, having four more ready keeps them on your site instead of wandering back to social media.
Phase 6: Tracking and Traffic
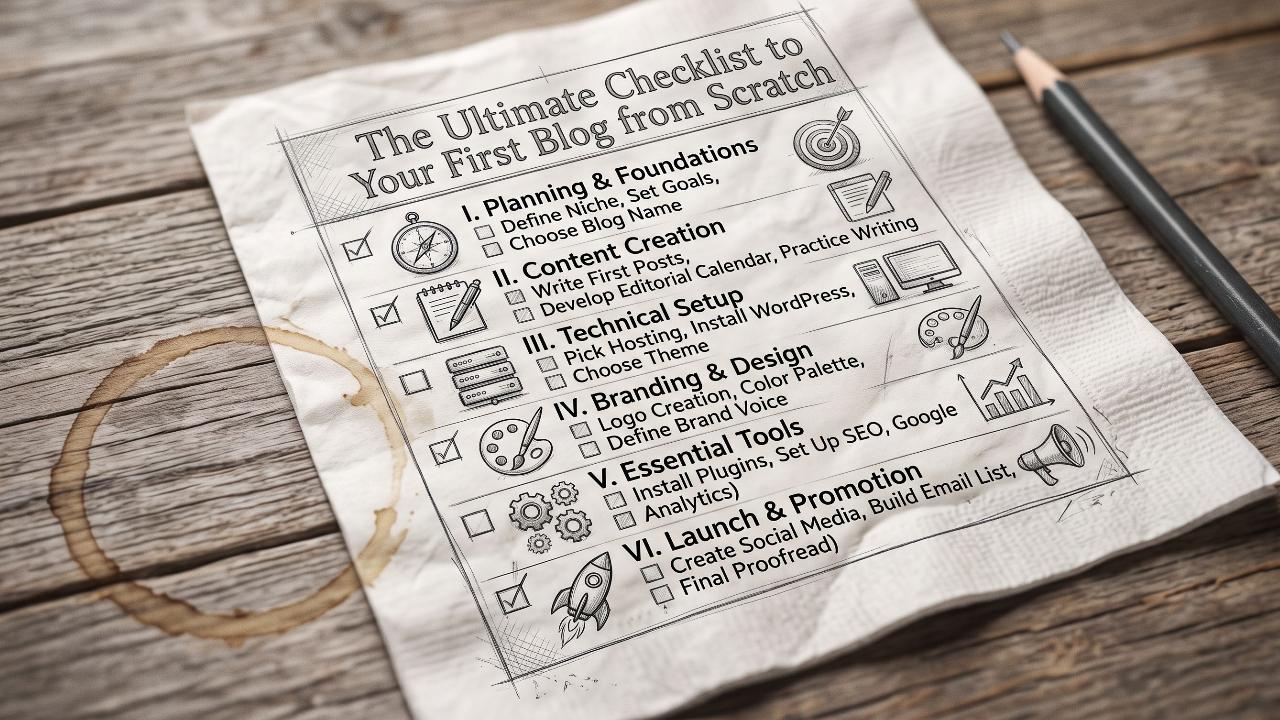
Once your five posts are published and your site looks tidy, turn on your measurement tools so you aren’t flying blind.
-
Google Search Console: Submit your sitemap so search engines know your pages exist.
-
Google Analytics (or Plausible): Check how people find your site without refreshing your traffic dashboard every twenty minutes on day one.
-
Email Capture: Add a simple signup box to collect email addresses. Social media platforms can change algorithms overnight, but your subscriber list is an audience you own directly.
Once those pieces are connected, you are officially live. Stop tweaking the CSS, close the settings tab, and start working on your next article.